Onboarding merchants
API version 2023-01-01 deprecatingThis version will be deprecated on May 1, 2025. If your platform is on this version, you should upgrade to at least 2023-12-01 to simplify authorization and access new features.
Overview
Before you can start processing payments, you first need to onboard your merchants. You and your merchants will provide Rainforest enough information about them to check that they are legitimate businesses and know how to send them deposits.
The merchant onboarding process involves three steps:
- Create the merchant in the Rainforest API
- Embed Rainforest’s merchant onboarding component into your website
- Listen to a webhook to find out when the merchant is approved
Let’s get started!
Create the merchant
First, call the create merchant endpoint, providing as much information as you already have about the business.
Save the merchant_id and merchant_application_id from the response for future use. The merchant represents this business, while the application represents its information at one point in time. If the businesses moves to a new address, it will be the same merchant, but will now have a second application.
Embed the merchant onboarding component
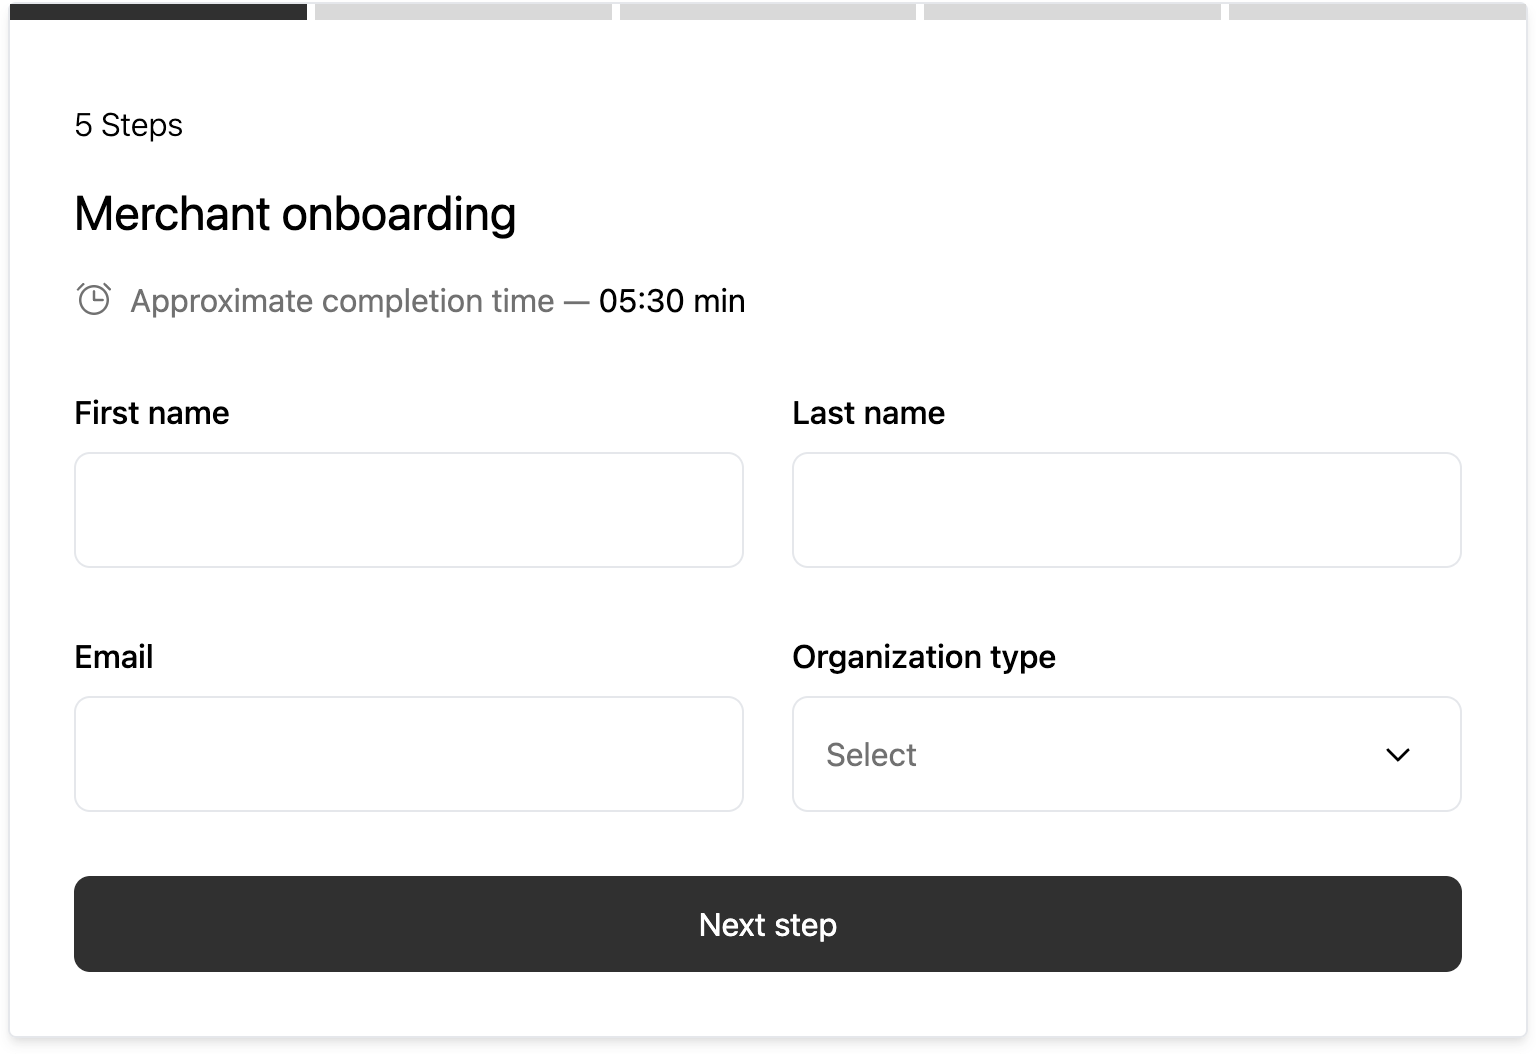
The next step is to show Rainforest's merchant onboarding component to your merchants, so they can complete their business information and submit it for review.

Preview of the merchant onboarding component
You'll need to build a page on your website and get your merchants to visit it. You may want to add a notification icon or send an email — whatever you normally do when you need your customers to complete an action on your platform.
Session authentication
The page where you host the component should be secure and authenticated, so that you are sure the current user is authorized to view and edit this business's information.
Call the create session endpoint to authorize the current user to view and submit this application. Ensure the session's statements include at least the following permissions:
{
    "statements": [

        {
            "$.filters..merchant.id": "{{Replace with the merchant_id}}",
            "$.resource": ["merchant", "merchant_application"],
            "$.action": ["read", "update", "create"]
        },
        {
            "$.resource": ["payment_method_config", "payment_method"],
            "$.action": ["create", "read", "update"]
        },
        {
            "$.resource": ["routing_number"],
            "$.action": ["read"]
        }
    ]
}
JavaScript bundle
Load the Rainforest JavaScript bundle onto your page so that you can render our component:
<script type="module" src="https://static.rainforestpay.com/sandbox.merchant.js"></script>
Developing locally?If you're testing your integration on an environment that does not use
localhostas the origin, you will need to first configure your browser to allow Rainforest to use secure web APIs, like cryptography, which are normally disallowed over an insecure connection. See our instructions for more detail.
Then render the merchant onboarding component as HTML, providing the previously-created session_key, merchant_id, and merchant_application_id as attributes:
<rainforest-merchant-onboarding
        session-key="REPLACE_ME"
        merchant-id="REPLACE_ME"
        merchant-application-id="REPLACE_ME"
></rainforest-merchant-onboarding>
Customizing the componentSee the merchant onboarding component studio for more attributes you can provide to customize the component's appearance and behavior.
Event listeners
Next, listen to the submitted event on the component to know that your user has completed and submitted the form. You can let them know that they are done on the current page or redirect them back to some other part of your website.
var component = document.querySelector('rainforest-merchant-onboarding');
component.addEventListener('submitted', function (data) {
    // Let the user know they are done, or redirect them elsewhere.
});
After the merchant submits the application in the component, the merchant's status will be ONBOARDING and the merchant's application status will be PROCESSING. In this state, Rainforest's systems are automatically reviewing the business information and the merchant cannot yet accept payments.
Testing in sandboxIf you're filling out the component in sandbox, you can use our test ACH accounts for the deposit payment method,
What happens next? In production, Rainforest will check the submitted application against our risk criteria and then asynchronously updates the
statusafter a decision is made. In the sandbox environment, no actual risk review happens. To simulate the application being accepted, and advance the merchant so that they can take test payments, you can use the simulate API endpoint to simulate the merchant application being approved or rejected.
Find out when the merchant is approved
It can take minutes to an hour for Rainforest's review to complete, so you will need to subscribe to Rainforest's webhooks to find out when a merchant is ready to accept payments.
When Rainforest has finished with the application review, the merchant's application status will change to one of the following:
COMPLETED: the merchant was approved and can begin to accept payments. The merchant's status will change toACTIVE.IN_REVIEW: during automated review, the merchant's application had some inconsistencies that Rainforest needs to review manually. Rainforest may need to request additional information. The merchant's status will stay inONBOARDING.DECLINED: the merchant's application was declined and may not process payments.
You should listen to at least the merchant.active webhook to know when a merchant is ready to begin accepting payments. When you receive that webhook, you can use the merchant_id in its payload to know which merchant is ready.
Working with webhooksRead the webhooks overview for an introduction to configuring webhook listeners and validating webhook payloads.
Updated 4 months ago
Now that you have an onboarded merchant, you're ready to process payments: