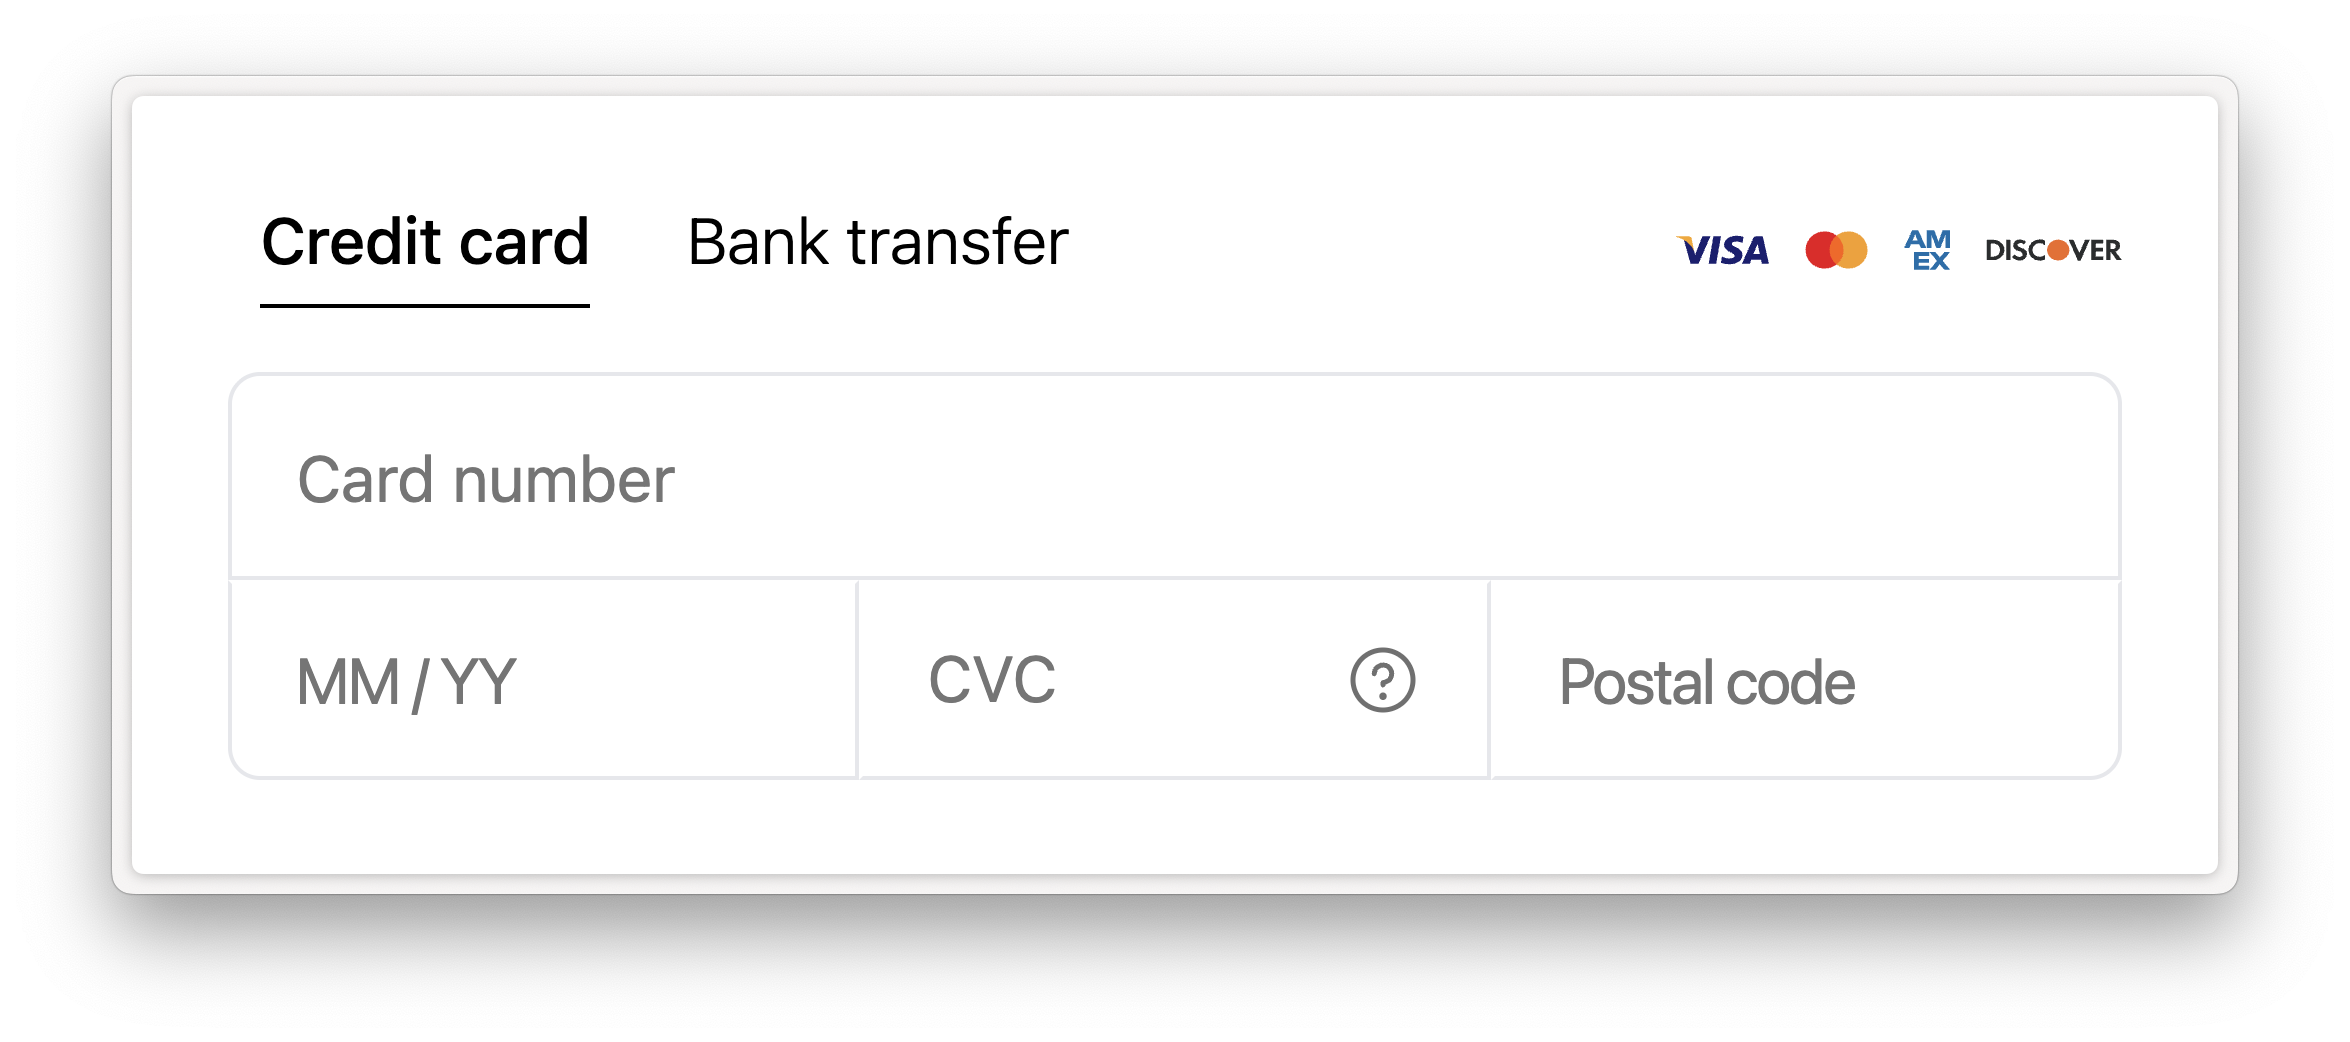
Customizing the Payment Component

Control how and when the Payment Component is submitted

Once you can take a payment on the web with your initial Payment Component integration, this guide will show you the further customization you can make to embed it into a checkout flow.

When you show Rainforest's Payment Component as part of a larger form, you may want greater control, either to style your own submit button to match the rest of your site, or to control when the component is submitted.

This guide will walk you through how to:

  • hide the Rainforest-controlled submit button
  • find out when the component has been filled out validly
  • update the amount or type of payment being made
  • submit the component from your own code

Hide the submit button

First, render the component with the hide-button attribute, so that it no longer renders the Rainforest-controlled button. Then render your own submit button and add appropriate styling and behavior to it.

  <rainforest-payment
      session-key="REPLACE_ME"
      payin-config-id="REPLACE_ME"
+     hide-button
  ></rainforest-payment>

+ <input type="submit" id="submit" disabled>

Find out when the component is valid

In order to decide when your submit button is enabled, you'll want to wait until both your part of the form and the Payment Component are valid. You can listen to the component's valid and invalid events and combine that with your own validation logic, to decide when to enable your submit button:

var component = document.querySelector('rainforest-payment')
var submit = document.querySelector('#submit')

component.addEventListener('valid', (e) => {
    submit.removeAttribute('disabled');
});
component.addEventListener('invalid', (e) => {
    submit.setAttribute('disabled', true);
});

Update the transaction amount or details

When the Payment Component is first rendered, you provide the id of a Payin Config or a Payment Method Config that describes how the payment details entered into the component will get turned into a Payin or a Payment Method. The information on the Config objects determines the amount of a payment, the billing information stored along with the payment method, etc.

If your checkout form allows the user to make changes that might impact the total you want to charge, or other details saved on the config, you will need to make a backend API call to create a new Payin Config, then update the id passed to the component. While you're waiting for this update to happen, you should disable your submit button so that the user doesn't accidentally pay the wrong amount.

When the new config id is returned to your frontend code, you can update the appropriate property on the component. If you're using a component-based framework like React or Vue, you may pass down the new config id to the part of your code that renders the Payment Component:

<rainforest-payment
    payin-config-id={payinConfigId}
    session-key={sessionKey}
    hide-button
></rainforest-payment>

If you're rendering the component in HTML or directly via the DOM API, you may update the attributes using the JavaScript DOM attribute API. For example, if you previously had provided a payin-config-id and now want to switch to providing a payment-method-config-id, you could:

component.removeAttribute('payin-config-id');
component.setAttribute('payment-method-config-id', payinConfigId;

Submit the component

When the component and your portion of the checkout form are valid, you've completed any changes to the config id, and the customer has hit the submit button, you can call the component's submit method:

component.submit();

After the component is submitted, it will emit the approved or declined event when the payment details have succeeded or failed. You can handle these as before. On an approval, you should show your customer a success message and possibly a receipt, then forward them to whatever they should do next. On a decline, the component will render its own error messaging letting them know what happened and prompting them to try again with a different payment method or contact their bank to resolve the issue.

Find out the brand of the entered card

In response to your customer filling out their credit card number, the component will emit an event indicating the detected card brand. You can listen to the card-brand-updated event to be notified of the brand as it changes.

The event will have a string payload indicating the detected brand, with possible values VISA, MASTERCARD, DISCOVER, AMERICAN_EXPRESS, OTHER, or NONE.

var component = document.querySelector('rainforest-payment')

component.addEventListener('card-brand-updated', (e) => {
    // get payload value
    var brand = e.detail[0];
  
    // ... your custom logic
});