Configure default billing profile
Configure the default billing profile for your merchants
Before going live, you will need to create a default or “primary” billing profile that will automatically be assigned to each merchant unless otherwise specified in the create merchant API call or upon merchant creation within the Rainforest Portal. This default billing profile is often referred to as your “rack” or standard rate.
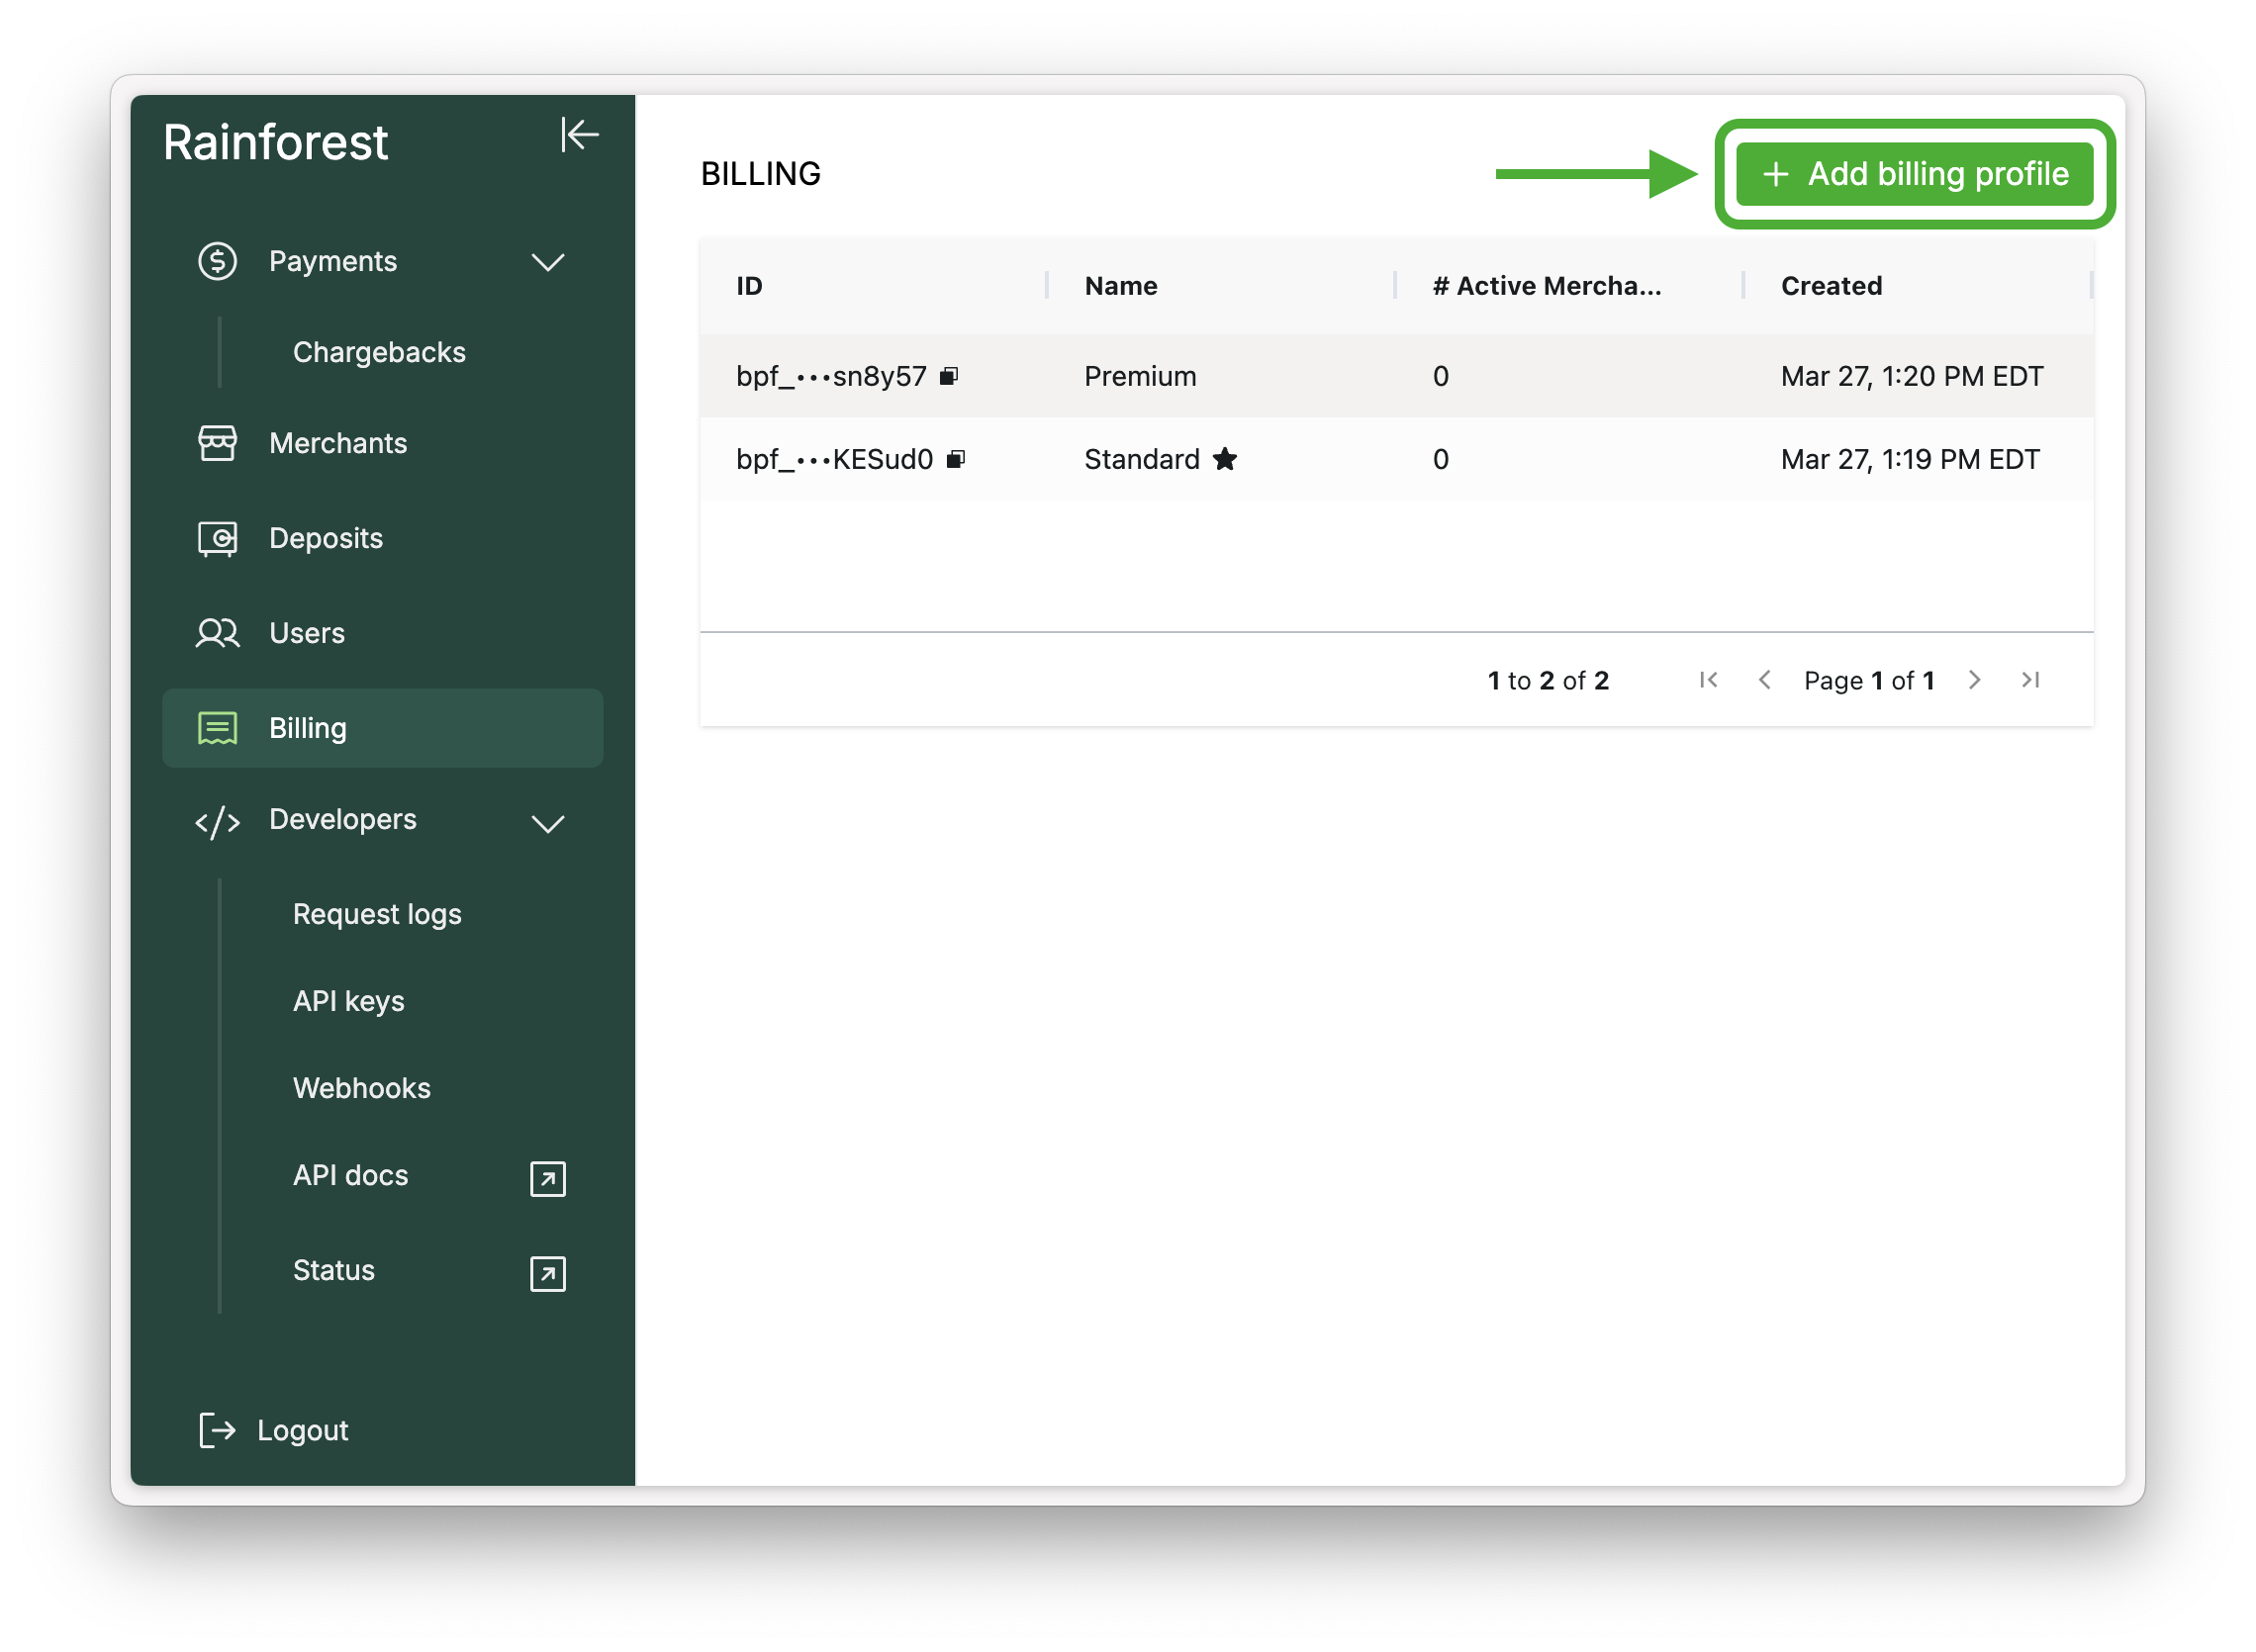
To identify your default billing profile, go to the Billing page in the Rainforest Portal and identify the billing profile with the ★ icon next to the billing profile name.
The first billing profile created will automatically be assigned as the default billing profile.
To change your default billing profile:
- Create a new billing profile on the Billing page in the Rainforest Platform Portal by clicking "Add billing profile". For your default billing profile, we recommend using the name "Primary" or "Standard".
- Fill out all necessary fields within the billing profile.
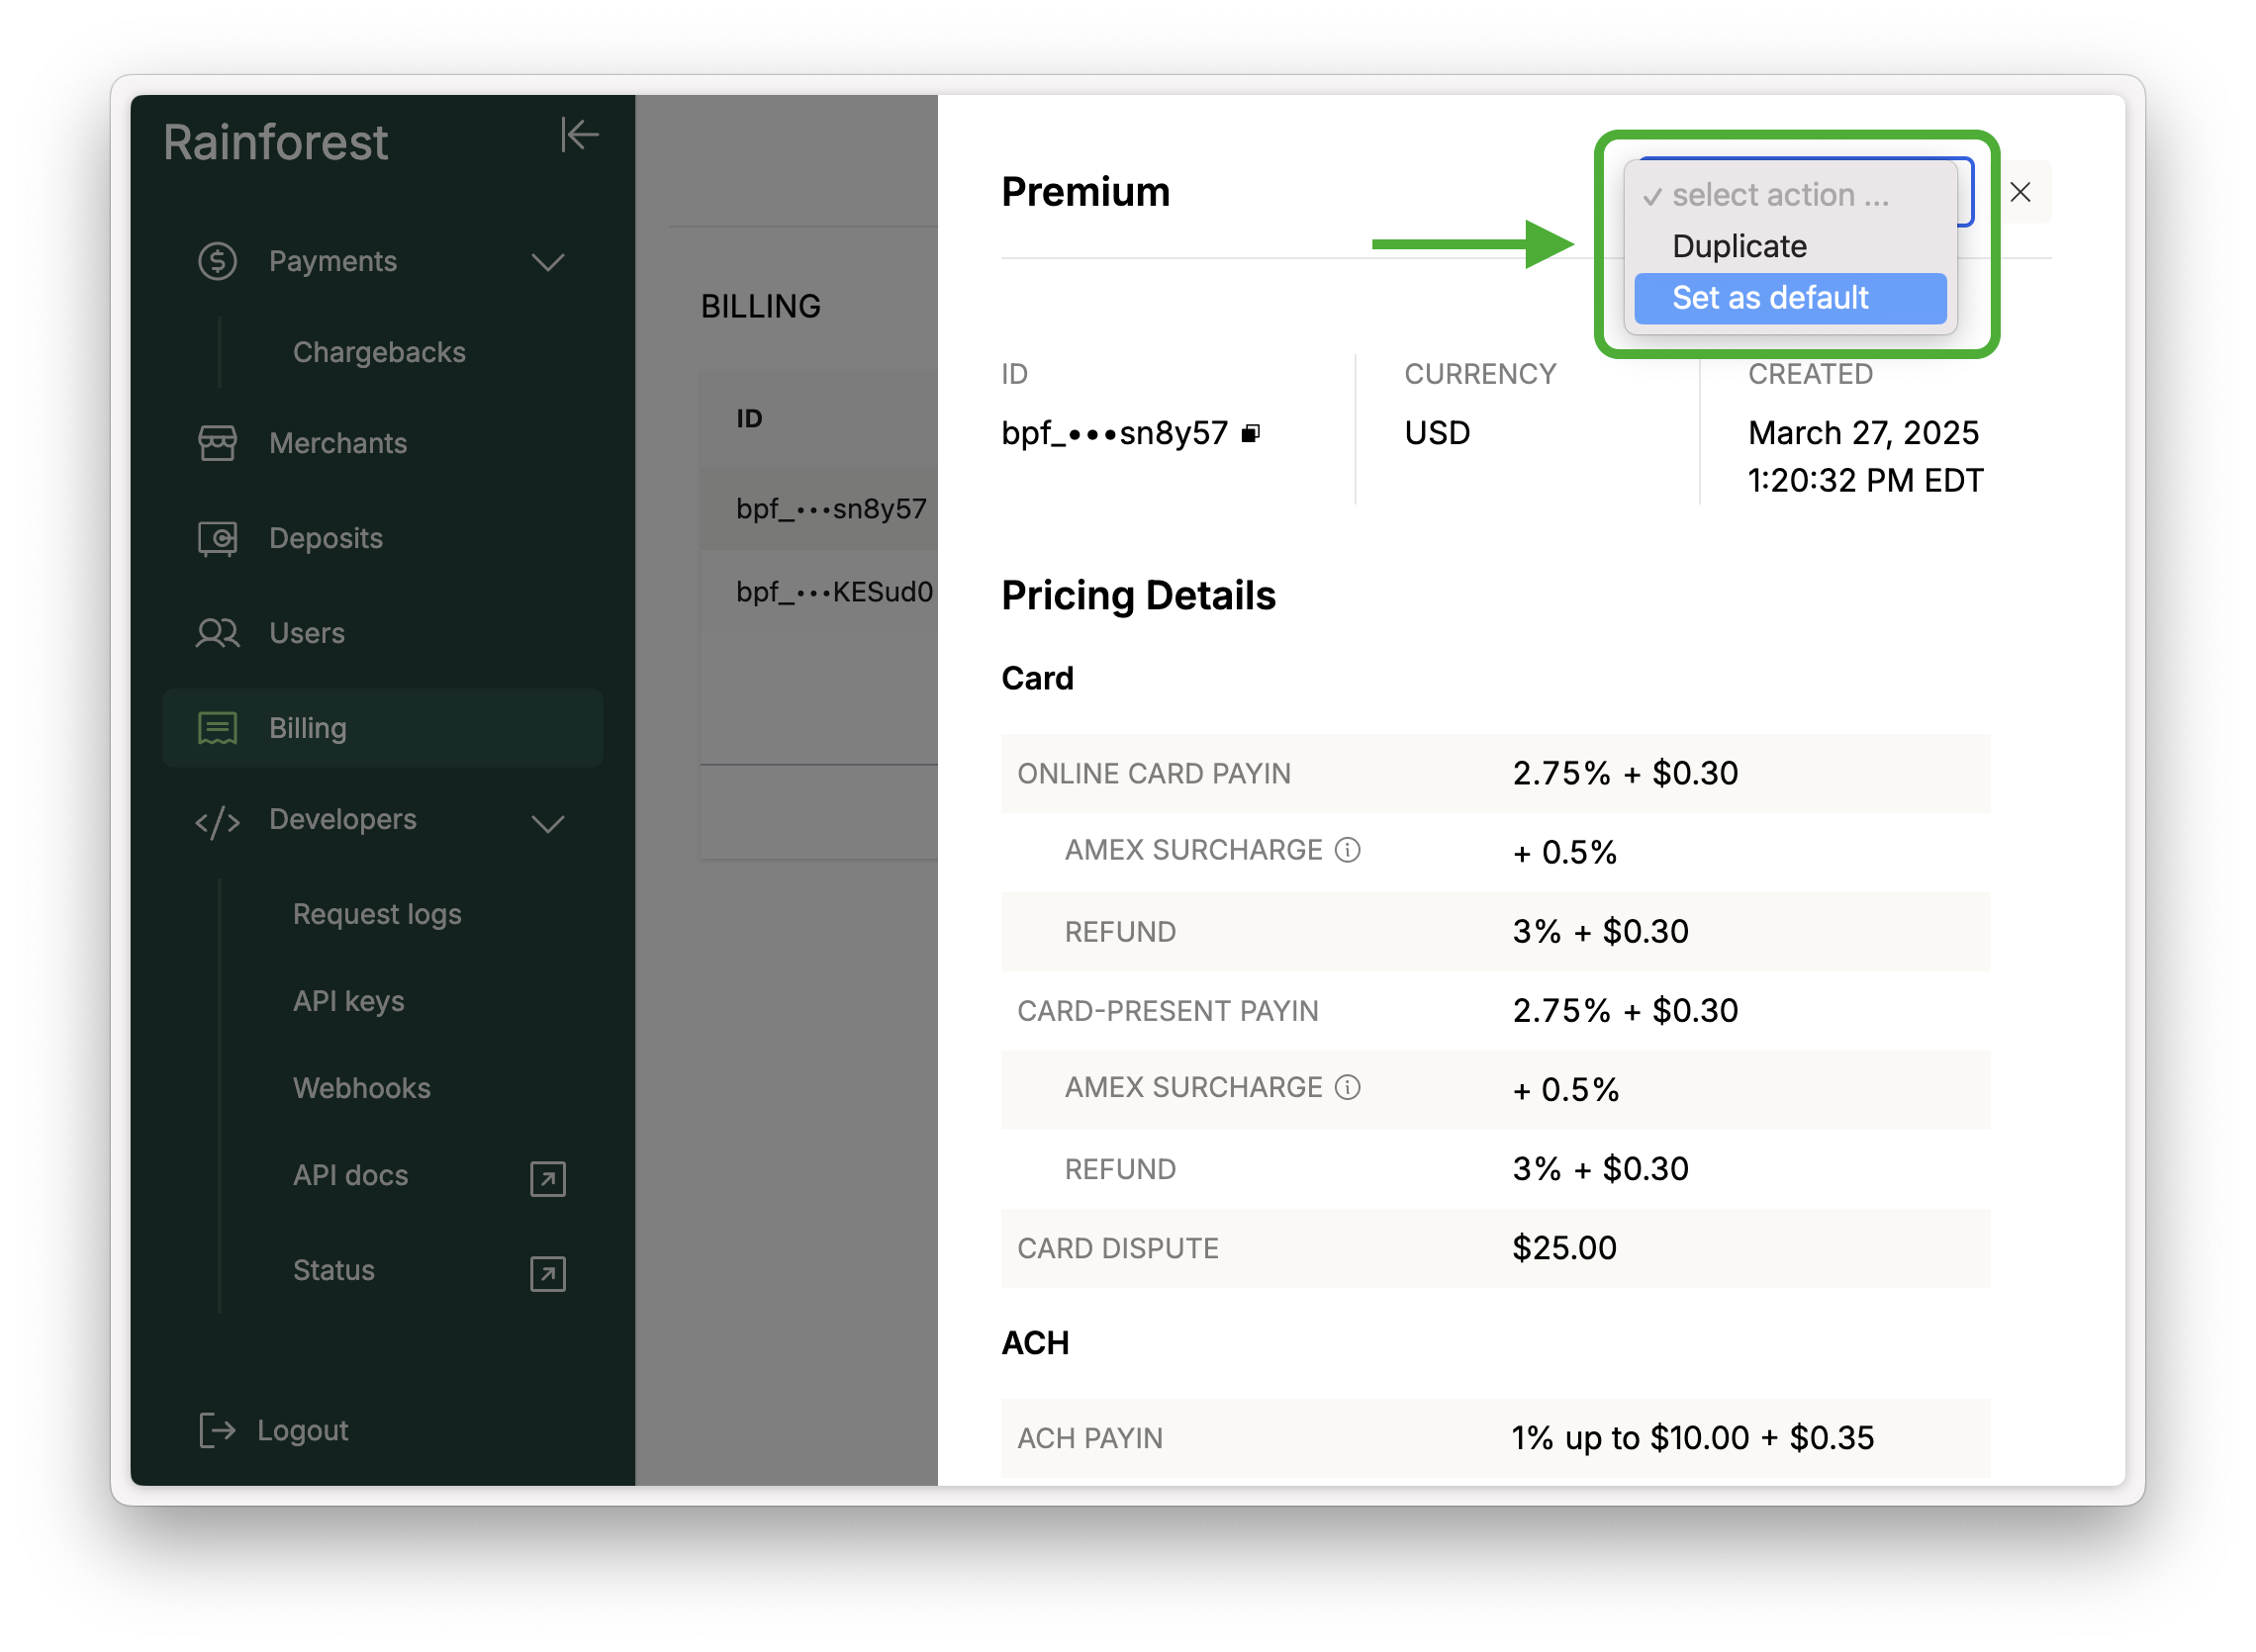
- Update the default billing profile by clicking on the billing profile you created and in the top right corner click "select action..." dropdown → "Set as default" and follow the prompt.
- Create all other required billing profiles needed for launch.
Note: a merchant's assigned billing profile can be updated in the Rainforest Portal on the Merchant Details page.
Updated 9 months ago